


 Call
Call 
 Access Your Account
 How to Program Your DISH Remote to the Receiver

Table of Contents
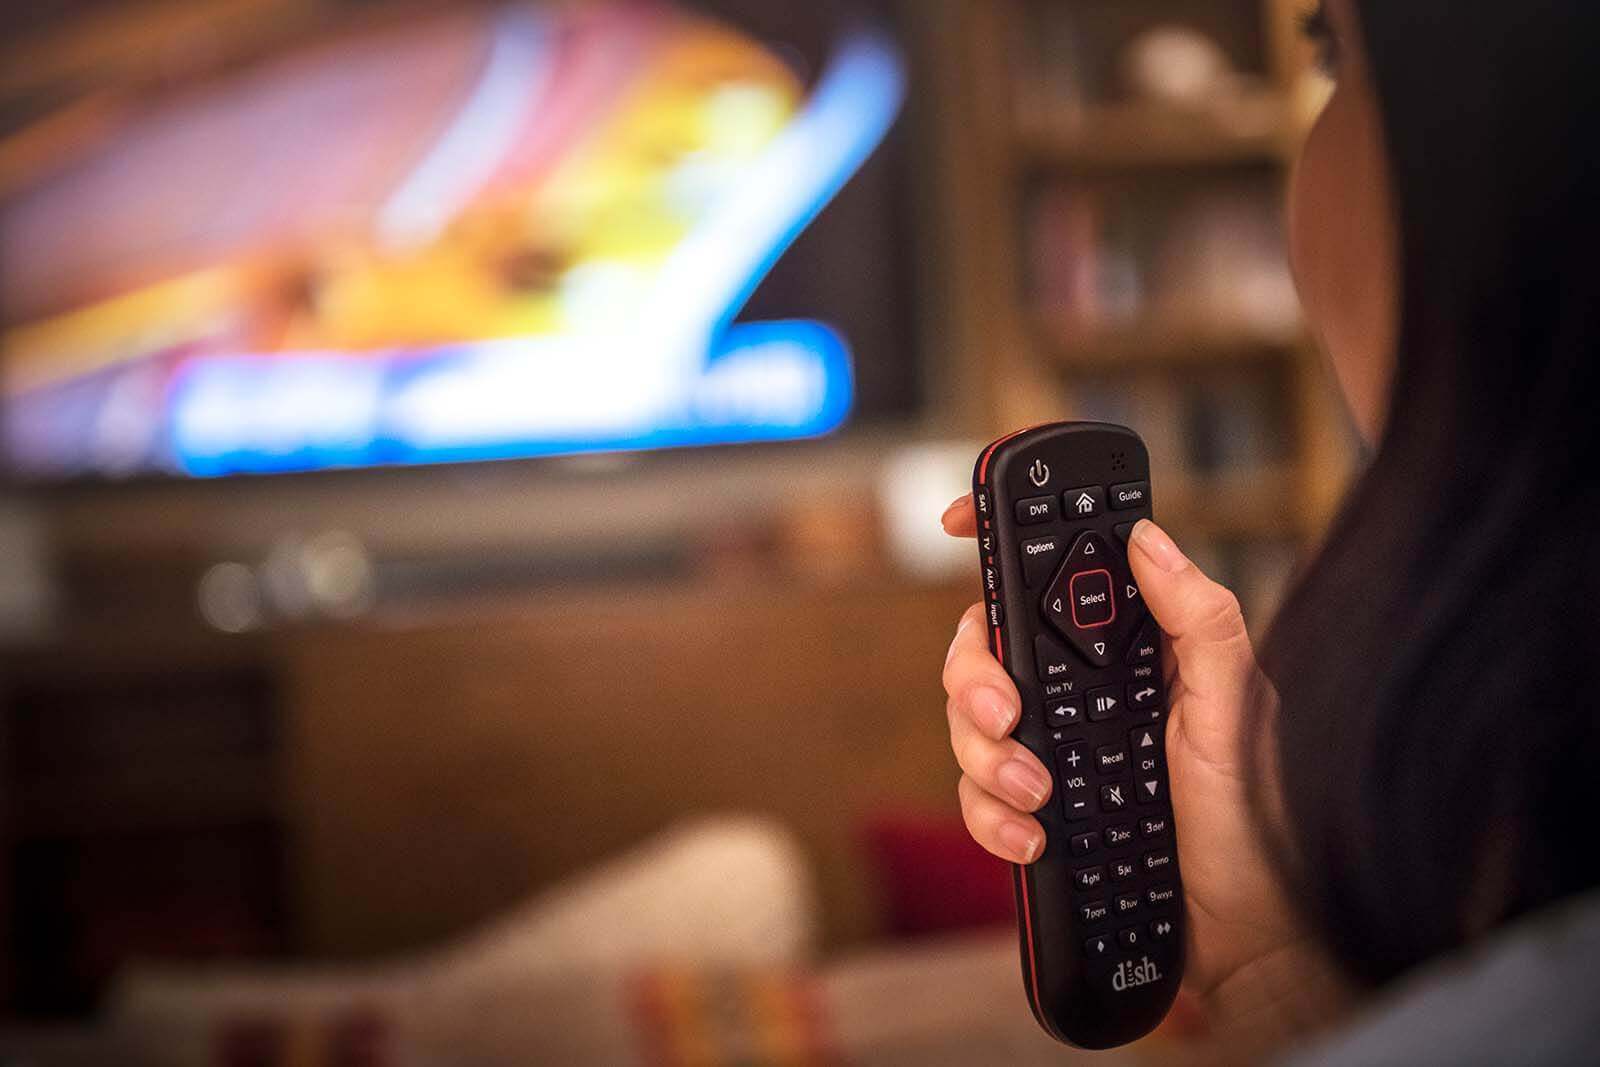
It’s always a good feeling to know that you have a new provider to look forward to after a move to a new home or a switch in service. Just imagine for a minute how nice it is to finally get home after a long day of work, sit down in front of your TV ready to watch your favorite shows, and suddenly you realize that your DISH remote doesn’t seem to be communicating with your receiver. Is it possible to troubleshoot it on your own or will you have to make a call to a DISH representative for them to help you? The good news is, you can absolutely program your DISH remote to the receiver; you’ll be surprised to know it’s not as difficult as you may think.
There are a couple of things you’ll need to consider in order to make the process go smoothly. If you’ve been a DISH Network customer for a long time, you probably have an older remote model that you will need to program differently from the newer models. Don’t worry, the process is not too different from how you would program one of the newer remote versions, but you will have to pay attention to which version you have so that you can program everything correctly and don’t have to start the process over again if it doesn’t work the first time. All the remotes that DISH has ever had all look a little different, so it won’t be too hard to figure out which one you have.
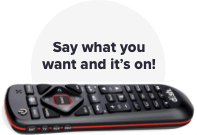
It’s also worth noting that the DISH remote control can act as a universal remote that you can pair and customize with different devices around your home to maximize the use of features like your TV soundbar or screen resolution. While most universal remotes require a code from the manufacturer to complete the setup, the DISH Network remote control doesn’t require a code that makes the entire process much easier and user-friendly. Here’s everything you need to know about how to program your DISH remote to the receiver.
How Do I Know Which DISH Remote I Have?
All the DISH Network remote controls look different. There are quite a number of models, so you’ll want to make sure that you know which you have prior to programming your DISH remote to the receiver. One thing that will make it easier to find out which remote you have is by looking at the pictures of the various models. They’re all distinct in look and feel, so it won’t be difficult to tell which one you have.
If you don’t want to go through the trouble of looking up pictures of all the models, the best thing to do is to look at the paperwork from when you first signed up to DISH Network and see which remote they assigned to you based on the package. All the details of the cable box, remote, and other equipment you are leasing from DISH will be on there for your convenience and perusal.
What Are the Most Common Types of DISH Network TV Remotes?
While DISH Network has a multitude of remotes available, some of them are more popular than others because of all the features they provide customers with to enhance their entertainment experience.
- DISH Network 54-Series Remote
This is the newest, most widely used remote for DISH Network customers. Its main features include voice command through Google Assistant, a remote finder to make it easier whenever you lose it in between the cushions, and backlighting to make the buttons brighter when it’s too dark. - DISH Network 52.0 Remote
The 52.0 version also comes with a remote finder option, customizable tools that will make it easier to launch apps, record shows, or turn on closed captioning, and works well with All Hoppers, Joeys, and Wally receivers. The only difference between this remote and the 54-series is the voice command. Otherwise, this is still a solid choice for remote control. - DISH Network 50.0 Remote
While this remote can accomplish a lot of the same tasks as the other remotes on this list, the key features that set it apart are the limited mode and the info/help button. With limited mode, you can prevent yourself from navigating to the wrong input. The info/help button helps you search for questions in a much easier way and gives you tips about the actions you can perform on any screen.
How to Program New Dish Remotes to the Receiver
Now that you have probably figured out what DISH remote control you have, it’s time to start the setup. Keep in mind that this part applies only to the newer models of remote controls, like the ones named above.
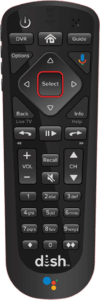
- The first thing you’ll want to do is to press the HOME button twice on the remote. Depending on the remote model you have, your control may not have a HOME button. If that’s the case, press the MENU button twice.
- Once the screen pops up, navigate to where it says SETTINGS on the menu.
- Select REMOTE CONTROL from the menu.
- The next screen will give you options for the device you want to pair. If you’re in the living room, for example, select the correct device on the on-screen menu.
- Next, you’ll notice an option for PAIRING WIZARD. This option is the most user-friendly because it’ll guide you through every step of the process.
- Once you’ve clicked on PAIRING WIZARD, you’ll see another menu that will prompt you to choose the brand of the device you’re pairing. Make sure you select the correct brand because as you move through the setup, the PAIRING WIZARD will test the pairing of codes and they are different for each brand.
- Now that you’ve selected the correct brand, the PAIRING WIZARD will guide you through a series of steps to test different device codes. Move slowly and read every prompt and on-screen instruction carefully so that the testing can be completed successfully. If the codes work correctly, all you have to do is select FINISH to move to the next screen. If not, select TRY NEXT CODE to repeat the process.
- Once the code testing is done, you should be good to go! Make sure that you double-check and test everything on your remote because even if you did everything that the PAIRING WIZARD prompted you to do, there’s a chance that certain customizations might have been lost. It’s better to check out now than have something not work during your favorite show’s finale.
How to Program Older DISH Remotes to the Receiver
If you have an older DISH remote, it means that it’s from the 20 or 21 series. The setup process will be a little different with these types of remotes, as you’ll have to follow a different procedure called a power scan.
The way this type of setup works is by testing different codes until it finds the one that works best with your device. Here’s what you’ll need to do to program your DISH remote to your receiver.
- Point your DISH remote directly at the device you want to pair it with.
- Next, you’ll want to press and hold the button that corresponds to the device you’re trying to pair. For example, if you’re trying to pair your DVD, then you would press and hold that button for about ten seconds, or until you see all four MODES on the remote light up. When the four MODES light up, release the button and you see that it starts blinking.
- In order to get the DISH remote ready to program, you’ll need to press and release the POWER button on your remote. Once you do this, you’ll notice that the MODE button will stop blinking and turn into a solid light. That means your remote is ready to program.
- Now the codes will start. Press the UP directional button on your remote control to send the first code.
- You will keep pressing the UP button until the device turns off, which will signal that the correct code was found and your remote is programmed.
- Before doing anything else, press # to save the code memory, otherwise you’ll have to start all over again. The MODE button will blink several times to signal that it’s saving the code.
- Make sure to test everything in your DISH remote to double-check everything is in order. If it is, then you’ve successfully programmed your DISH remote to the receiver.
And that’s it! Now that you know how to program your DISH remote to the receiver, you won’t have any issues in the future if you ever have to replace any equipment or reset any of your devices. DISH Network makes it easy for customers to troubleshoot on their own so that they don’t have to spend time on the phone with a tech. Although if you ever do need professional help, a DISH representative will be ready to help you.